How do I export my customers to MailChimp?
While CleanerPlanner lets you send bulk email to up to 50 recipients at a time, you can use the Mailchimp integration to send larger, more specific campaigns across your customer base.
#1 Sign up and log in to MailChimp
#2 Set up your API keys
- Go to https://mailchimp.com/help/about-api-keys/#Generate_an_API_key to generate a MailChimp API key
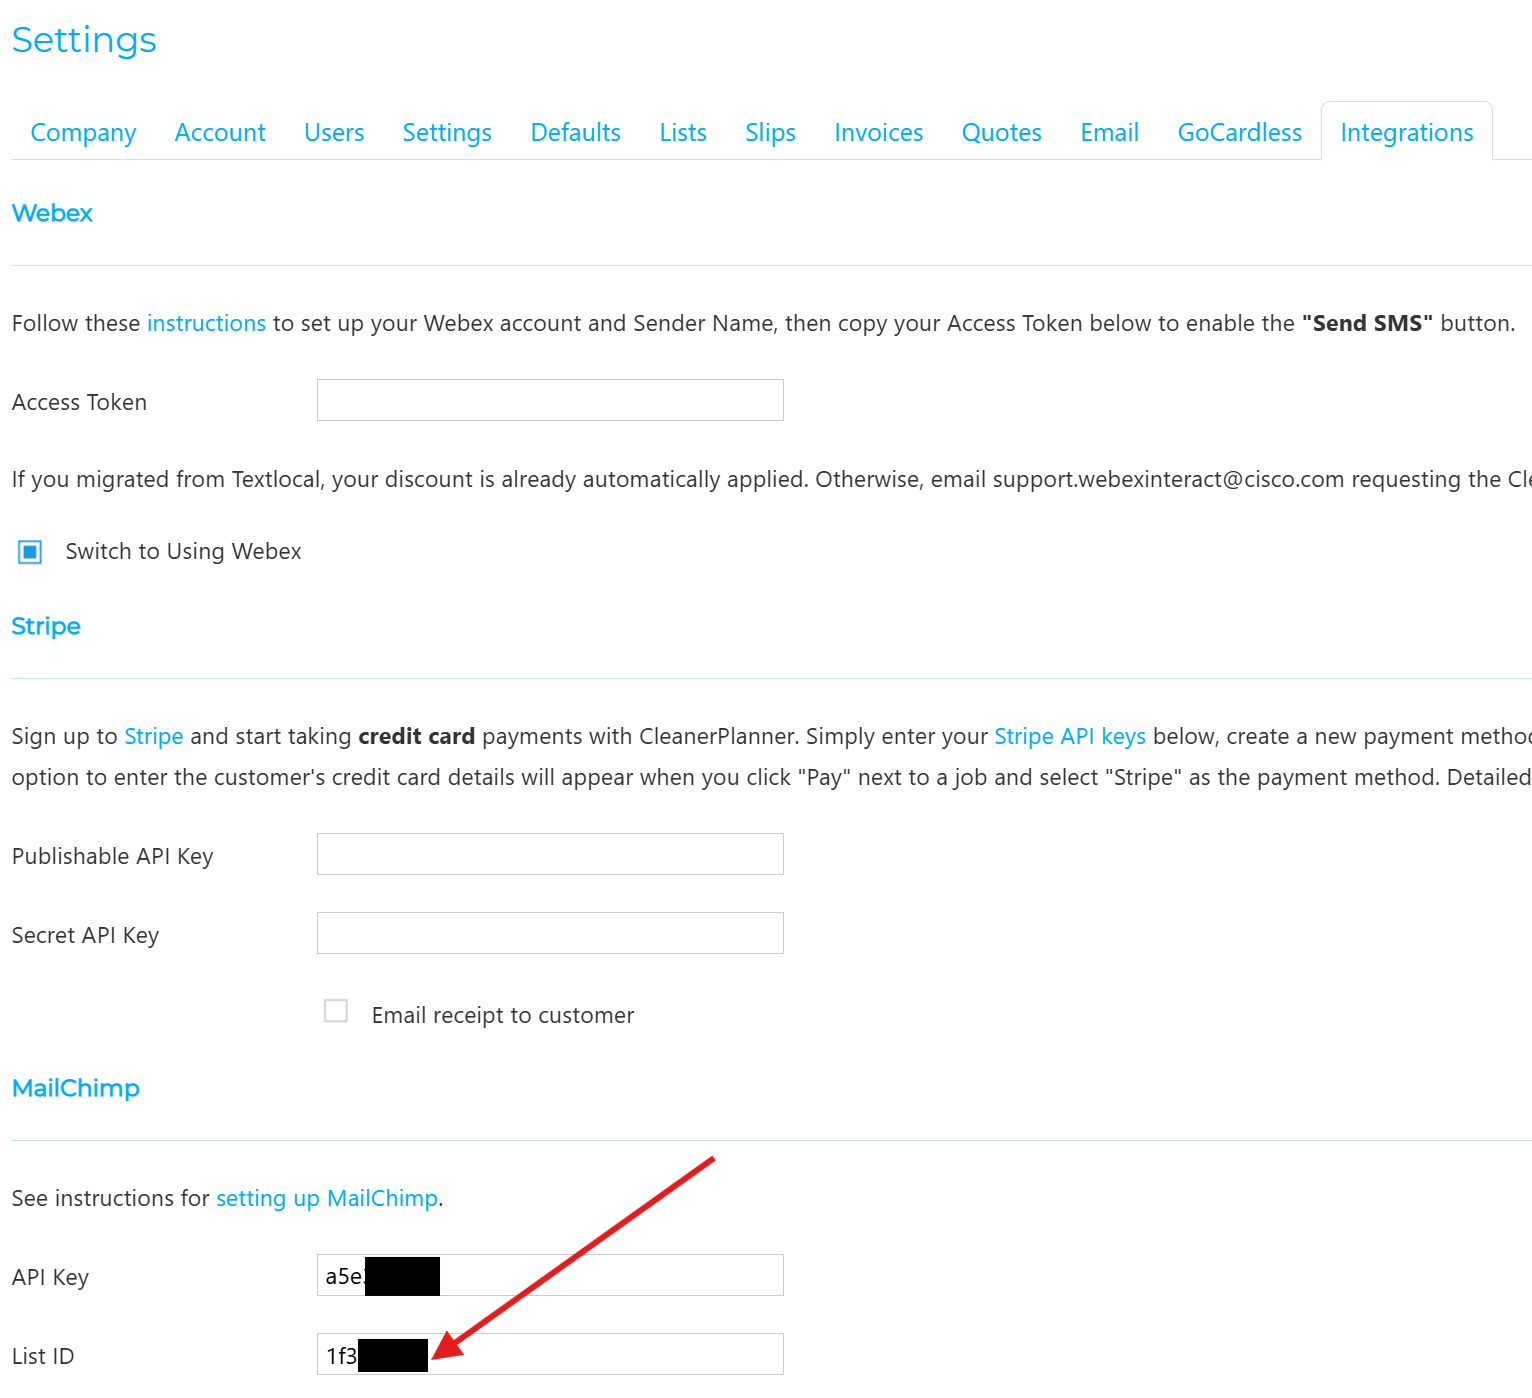
- Copy this key into your CleanerPlanner account > Settings > Integrations > MailChimp:

#3 Create an Audience
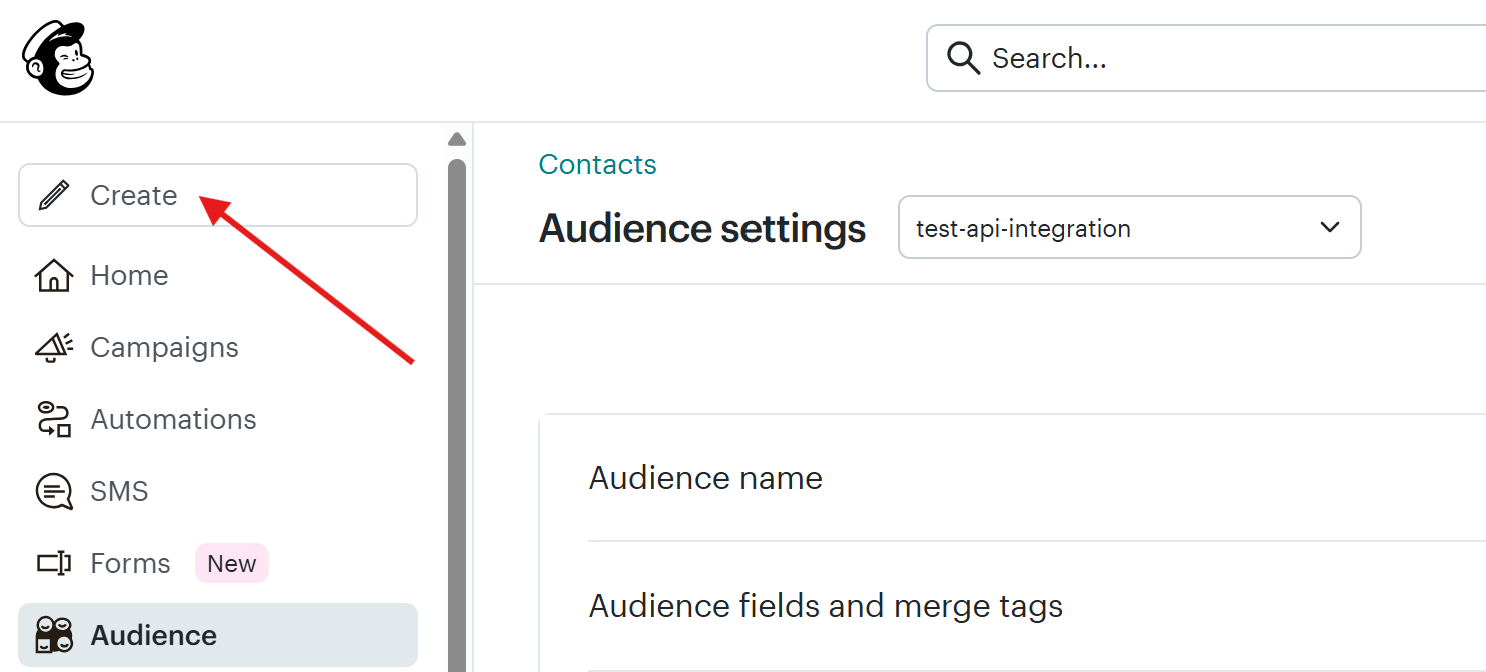
Log into your MailChimp account and navigate to Audience in the left sidebar > Audience dashboard (here is the link).
Click on "Create Audience" button in the upper right > add your business details:

When an audience has been created, click the "Manage Audience" dropdown on the right side > then "Audience Settings":

Click the copy-clipboard button next to the Audience ID:

Copy this audience ID into your CleanerPlanner account > Settings > Integrations > MailChimp > List ID:
Save your settings to close out.
#4 Sync Customers to MailChimp
- Go to the Customers tab
- Click on "Update Mailchimp"

- Note that only customers with email addresses will be imported, since MailChimp relies on that to email your customers
- Key customer information like the job status, round name, etc. is loaded into MailChimp so that you can filter to the audience that you want
#5 Set up Email Campaigns and Surveys
MailChimp has extensive documentation on setting up various types of email campaigns, surveys, sign-up forms etc. As an example, here is the setup for a simple email campaign: https://mailchimp.com/help/create-a-regular-email-campaign/
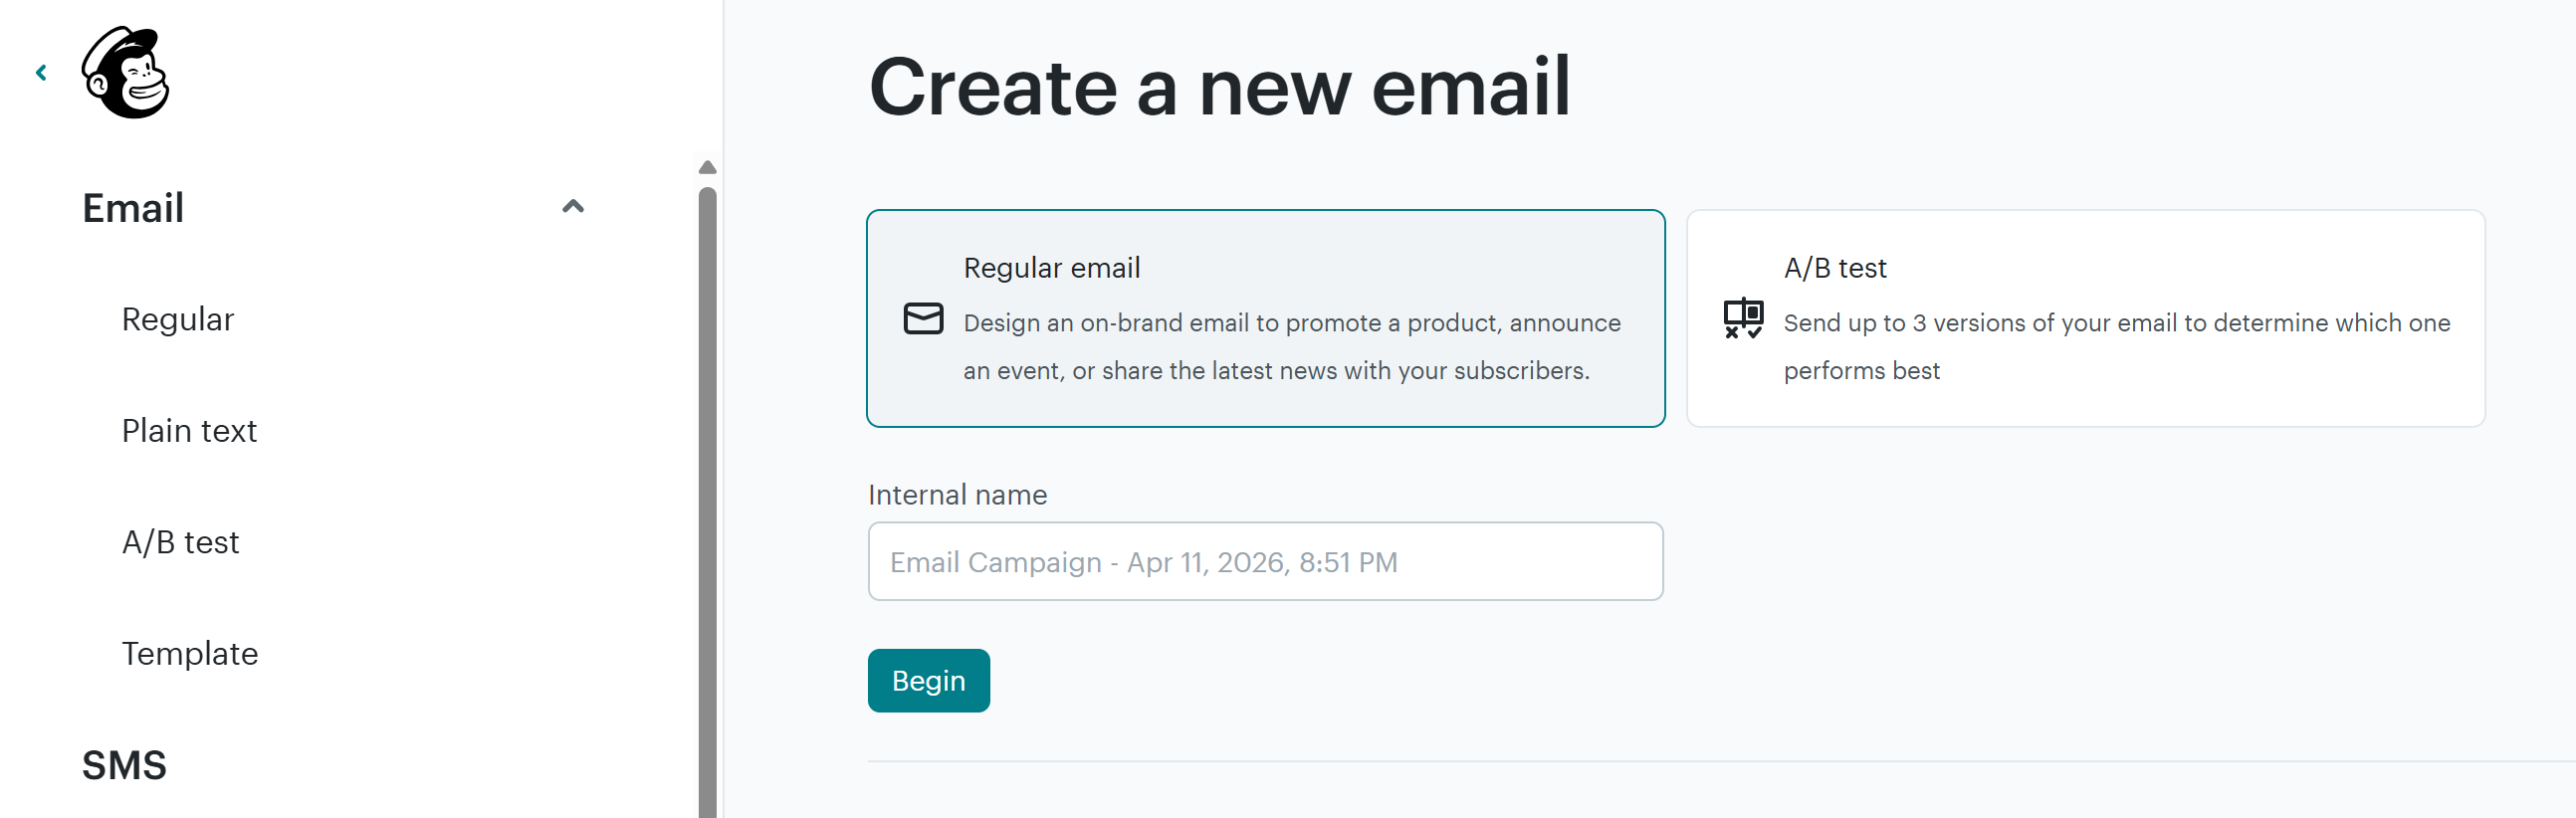
Go to your admin dashboard in Mailchimp and click on "Create":
You can now select your desired email campaign:
Once you've filled out the email template, hit Send to distribute to your customers!
Note: Please be sure to comply with any GDPR requirements with targeting customers in email campaigns.